


ARMA 3 Server Hosting: Everything You Need to Know
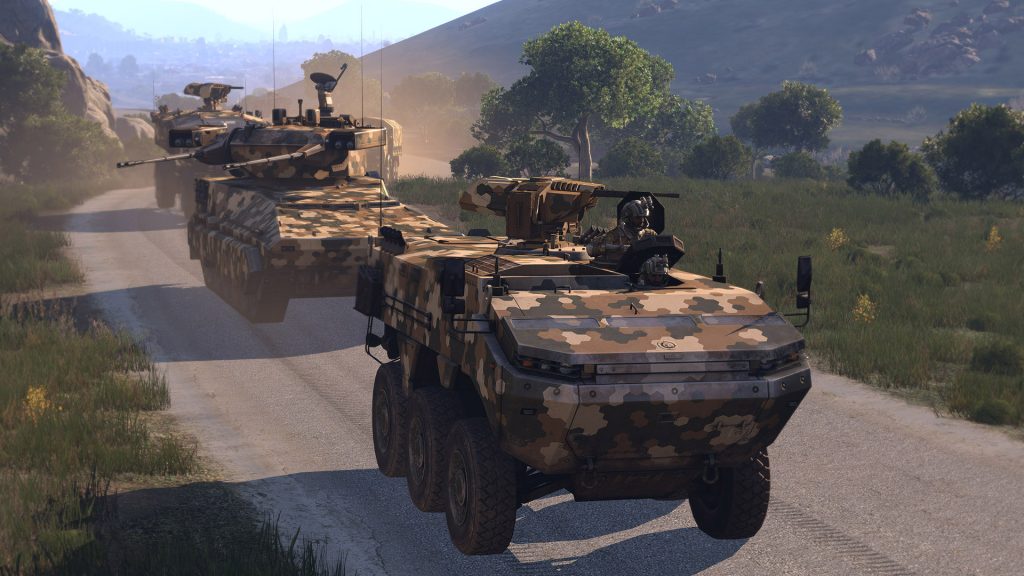
ARMA 3, a highly immersive military simulation game, offers a fantastic multiplayer experience. Whether you’re looking to host a private server for friends or run a large public server, understanding how to set up and manage your ARMA 3 server is essential for ensuring smooth gameplay. This guide covers everything from hosting options to troubleshooting common issues, such as your ARMA 3 server not showing up for friends.
ARMA 3 Hosting Options
When it comes to hosting an ARMA 3 server, you have several options depending on your needs, budget, and technical expertise.
1. Self-Hosted ARMA 3 Server
If you want complete control over your server and don’t mind handling the technical setup, self-hosting is a great option. Here’s how to set up a self-hosted ARMA 3 server:
Step-by-Step Guide to Hosting a Self-Hosted Server
- System Requirements: Ensure your system meets the minimum requirements for hosting:
- CPU: Quad-core or better.
- RAM: At least 8GB (16GB+ recommended for larger servers).
- Storage: Minimum of 20GB of free space.
- Network: A stable internet connection with a decent upload speed (5 Mbps or higher).
- Download the ARMA 3 Server Files:
- Install SteamCMD from the official Steam website.
- Open SteamCMD and enter the following commands to download the ARMA 3 server files:mathematicaКопіювати код
login anonymous force_install_dir C:\arma3server app_update 233780 validate quit
- Configure the Server:
- Navigate to your ARMA 3 server folder (
C:\arma3serveror wherever you installed it). - Edit the
server.cfgfile to customize settings like server name, admin password, and mission parameters.
- Navigate to your ARMA 3 server folder (
- Port Forwarding:
- Open your router’s configuration page and forward the necessary ports:
- 2302-2306 (UDP): Required for ARMA 3 server connections.
- This will allow others to connect to your server from outside your local network.
- Open your router’s configuration page and forward the necessary ports:
- Start the Server:
- Launch your server by running the
arma3server.exefile.
- Launch your server by running the
2. Paid ARMA 3 Server Hosting
If you prefer to avoid the technical complexity of self-hosting, paid ARMA 3 server hosting services are a convenient solution. These hosting providers manage all the backend work for you, offering features like:
- 24/7 uptime.
- DDoS protection.
- One-click mod installations.
- Support for custom configurations.
Popular ARMA 3 hosting providers include:
- Host Havoc
- GTXGaming
- Survival Servers
These services typically offer different pricing tiers depending on the number of players and server performance. Hosting a 20-30 slot server can cost anywhere between $10 and $30 per month.
3. Free ARMA 3 Server Hosting
While free ARMA 3 server hosting options are limited, there are a few ways you can potentially host a server without paying:
- Home server: Host a server on your own computer or spare hardware. Just be aware of the limitations regarding bandwidth and hardware performance.
- Cloud free tiers: Platforms like Amazon Web Services (AWS) and Google Cloud sometimes offer free tiers for new users, which you can use to host a small ARMA 3 server. Keep in mind that these options are limited in terms of resources and duration.
Troubleshooting: ARMA 3 Server Not Showing Up for Friends
One of the most common issues players face is the ARMA 3 server not showing up for friends in the multiplayer browser. Here’s how to troubleshoot and resolve this problem:
1. Check Port Forwarding
If the necessary ports aren’t correctly forwarded, your friends won’t be able to find or join your server. Ensure the following ports are open:
- 2302-2306 (UDP): Essential for ARMA 3 server communication.
You can test your port forwarding using online tools such as canyouseeme.org to ensure the ports are accessible from outside your network.
2. Verify Server Visibility in Server Config
In the server.cfg file, ensure that the following settings are configured properly:
- hostname: The name of your server.
- steamport and steamqueryport: These should be set to 2302 and 2303, respectively, unless you’re using different ports.
Example config:
makefileКопіювати кодhostname = "My ARMA 3 Server";
steamport = 2302;
steamqueryport = 2303;

3. Disable Firewall and Antivirus Conflicts
Firewalls or antivirus software may block your server from appearing in the multiplayer browser. Temporarily disable these and see if it resolves the issue. If it does, add your ARMA 3 server files to the firewall’s allowed list.
4. Direct Connect via IP
If your friends still can’t find the server in the list, they can try directly connecting using your server’s IP address:
- Ask them to open ARMA 3, go to the multiplayer tab, and select Direct Connect.
- Have them enter your public IP address and the server port (default is 2302).
5. Steam Friends List Issue
Sometimes, ARMA 3 servers won’t appear due to issues with the Steam friends list or NAT types. Restarting Steam or ensuring that both players are using a similar NAT type (e.g., Open NAT) may resolve the issue.
6. Check Server Logs
If all else fails, check your server logs for any error messages or warnings. Logs can be found in the ARMA 3 server folder under arma3server.rpt. These logs may provide insights into why your server isn’t showing up.
Conclusion
Hosting an ARMA 3 server gives you the freedom to customize the game, manage players, and enjoy uninterrupted multiplayer sessions. Whether you opt for self-hosting, rent a server from a professional provider, or explore free ARMA 3 server hosting solutions, having the right setup will ensure a smooth experience for you and your friends. If you encounter issues like your ARMA 3 server not showing up for friends, following the troubleshooting tips in this guide will help you get your server up and running quickly.