Step-by-Step Guide: Knitting Your Favorite Minecraft Character with Beads
Minecraft, the beloved block-building game, has captured the hearts of millions worldwide with its pixelated charm. Crafting pixelated art in real life can be just as satisfying, and one of the most creative ways to do this is by knitting your favorite Minecraft characters with beads. In this step-by-step guide, we’ll walk you through the process, from gathering materials to creating your pixelated masterpiece.
Materials You’ll Need
Before you embark on your Minecraft bead-knitting adventure, gather the following materials:
- Knitting Yarn: Choose yarn colors that match your chosen Minecraft character.
- Knitting Needles: Appropriate size needles for your yarn.
- Beads: Small, round beads in various colors.
- Thread: Strong thread for attaching beads to your knitting.
- Knitting Pattern: Find or create a knitting pattern for your chosen Minecraft character.
- Needle and Thread: A sewing needle and thread for finishing touches.
- Scissors: For cutting yarn and thread.
- Patience and Creativity: The most essential tools of all!
Step 1: Select Your Minecraft Character
Begin by selecting the Minecraft character you’d like to recreate. Whether it’s the iconic Steve, a Creeper, Enderman, or your own custom design, make sure to find or create a pixelated pattern that represents your choice.
Step 2: Choose Your Beads
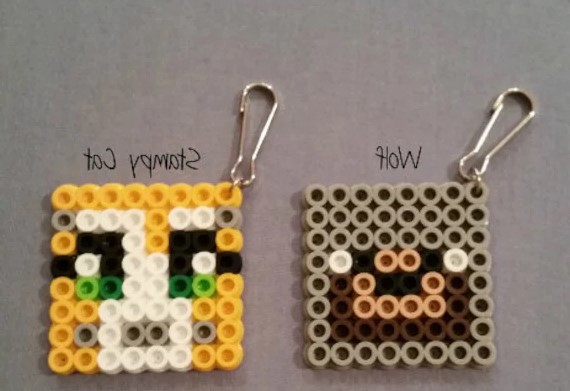
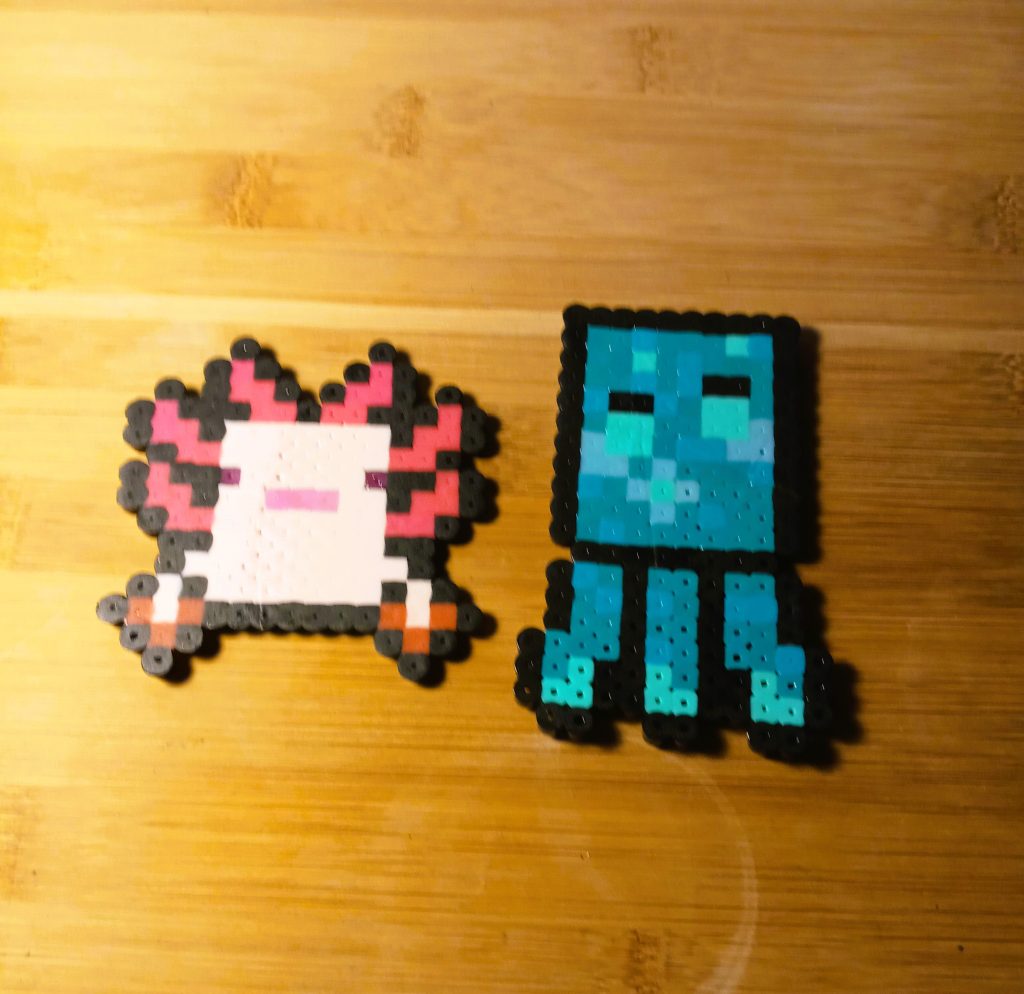
Now, it’s time to select the beads that will bring your character to life. Refer to your chosen Minecraft character’s pixel art and pick out beads that match the colors needed for your pattern. Organize them for easy access during your knitting process.
Step 3: Knitting the Base
Start by casting on your knitting yarn using the appropriate needles and creating the base of your character. Follow the knitting pattern you’ve chosen, knitting row by row. Remember to leave space for the beads by knitting stitches without beads in the desired positions.
Step 4: Adding Beads
This is where the magic happens. Thread a bead onto your needle and slip it onto the appropriate stitch on your knitting needle. Continue knitting as usual, securing the bead in place. Repeat this process for each bead you want to add. We have prepared a step-by-step guide to creating zombies from Minecraft.
Step 5: Creating Details
As you follow your knitting pattern, pay close attention to the finer details of your Minecraft character. Use different bead colors and placements to create the pixelated features that make your character unique.
Step 6: Shaping and Finishing
Once you’ve completed your character’s body, it’s time to shape it. Follow the pattern’s instructions for shaping and decreasing stitches to give your character its proper form. Use thread and a sewing needle to secure any loose ends.
Step 7: Final Touches
Inspect your bead-knitted Minecraft character for any imperfections or loose beads. Carefully sew any loose beads in place, ensuring your creation looks its best.
Step 8: Display Your Masterpiece
Congratulations! You’ve successfully knitted your favorite Minecraft character with beads. Now, proudly display your creation as a testament to your creativity and craftsmanship.
Conclusion
Knitting Minecraft characters with beads is a delightful blend of gaming nostalgia and artistic expression. With the right materials, patience, and attention to detail, you can transform yarn and beads into pixelated wonders that pay homage to the Minecraft universe. For more Minecraft-related crafting inspiration and resources, visit Minecraft Wiki.